

Post-its & text boxes
Coloured sticky notes for quick thoughts and longer rich-text passages.
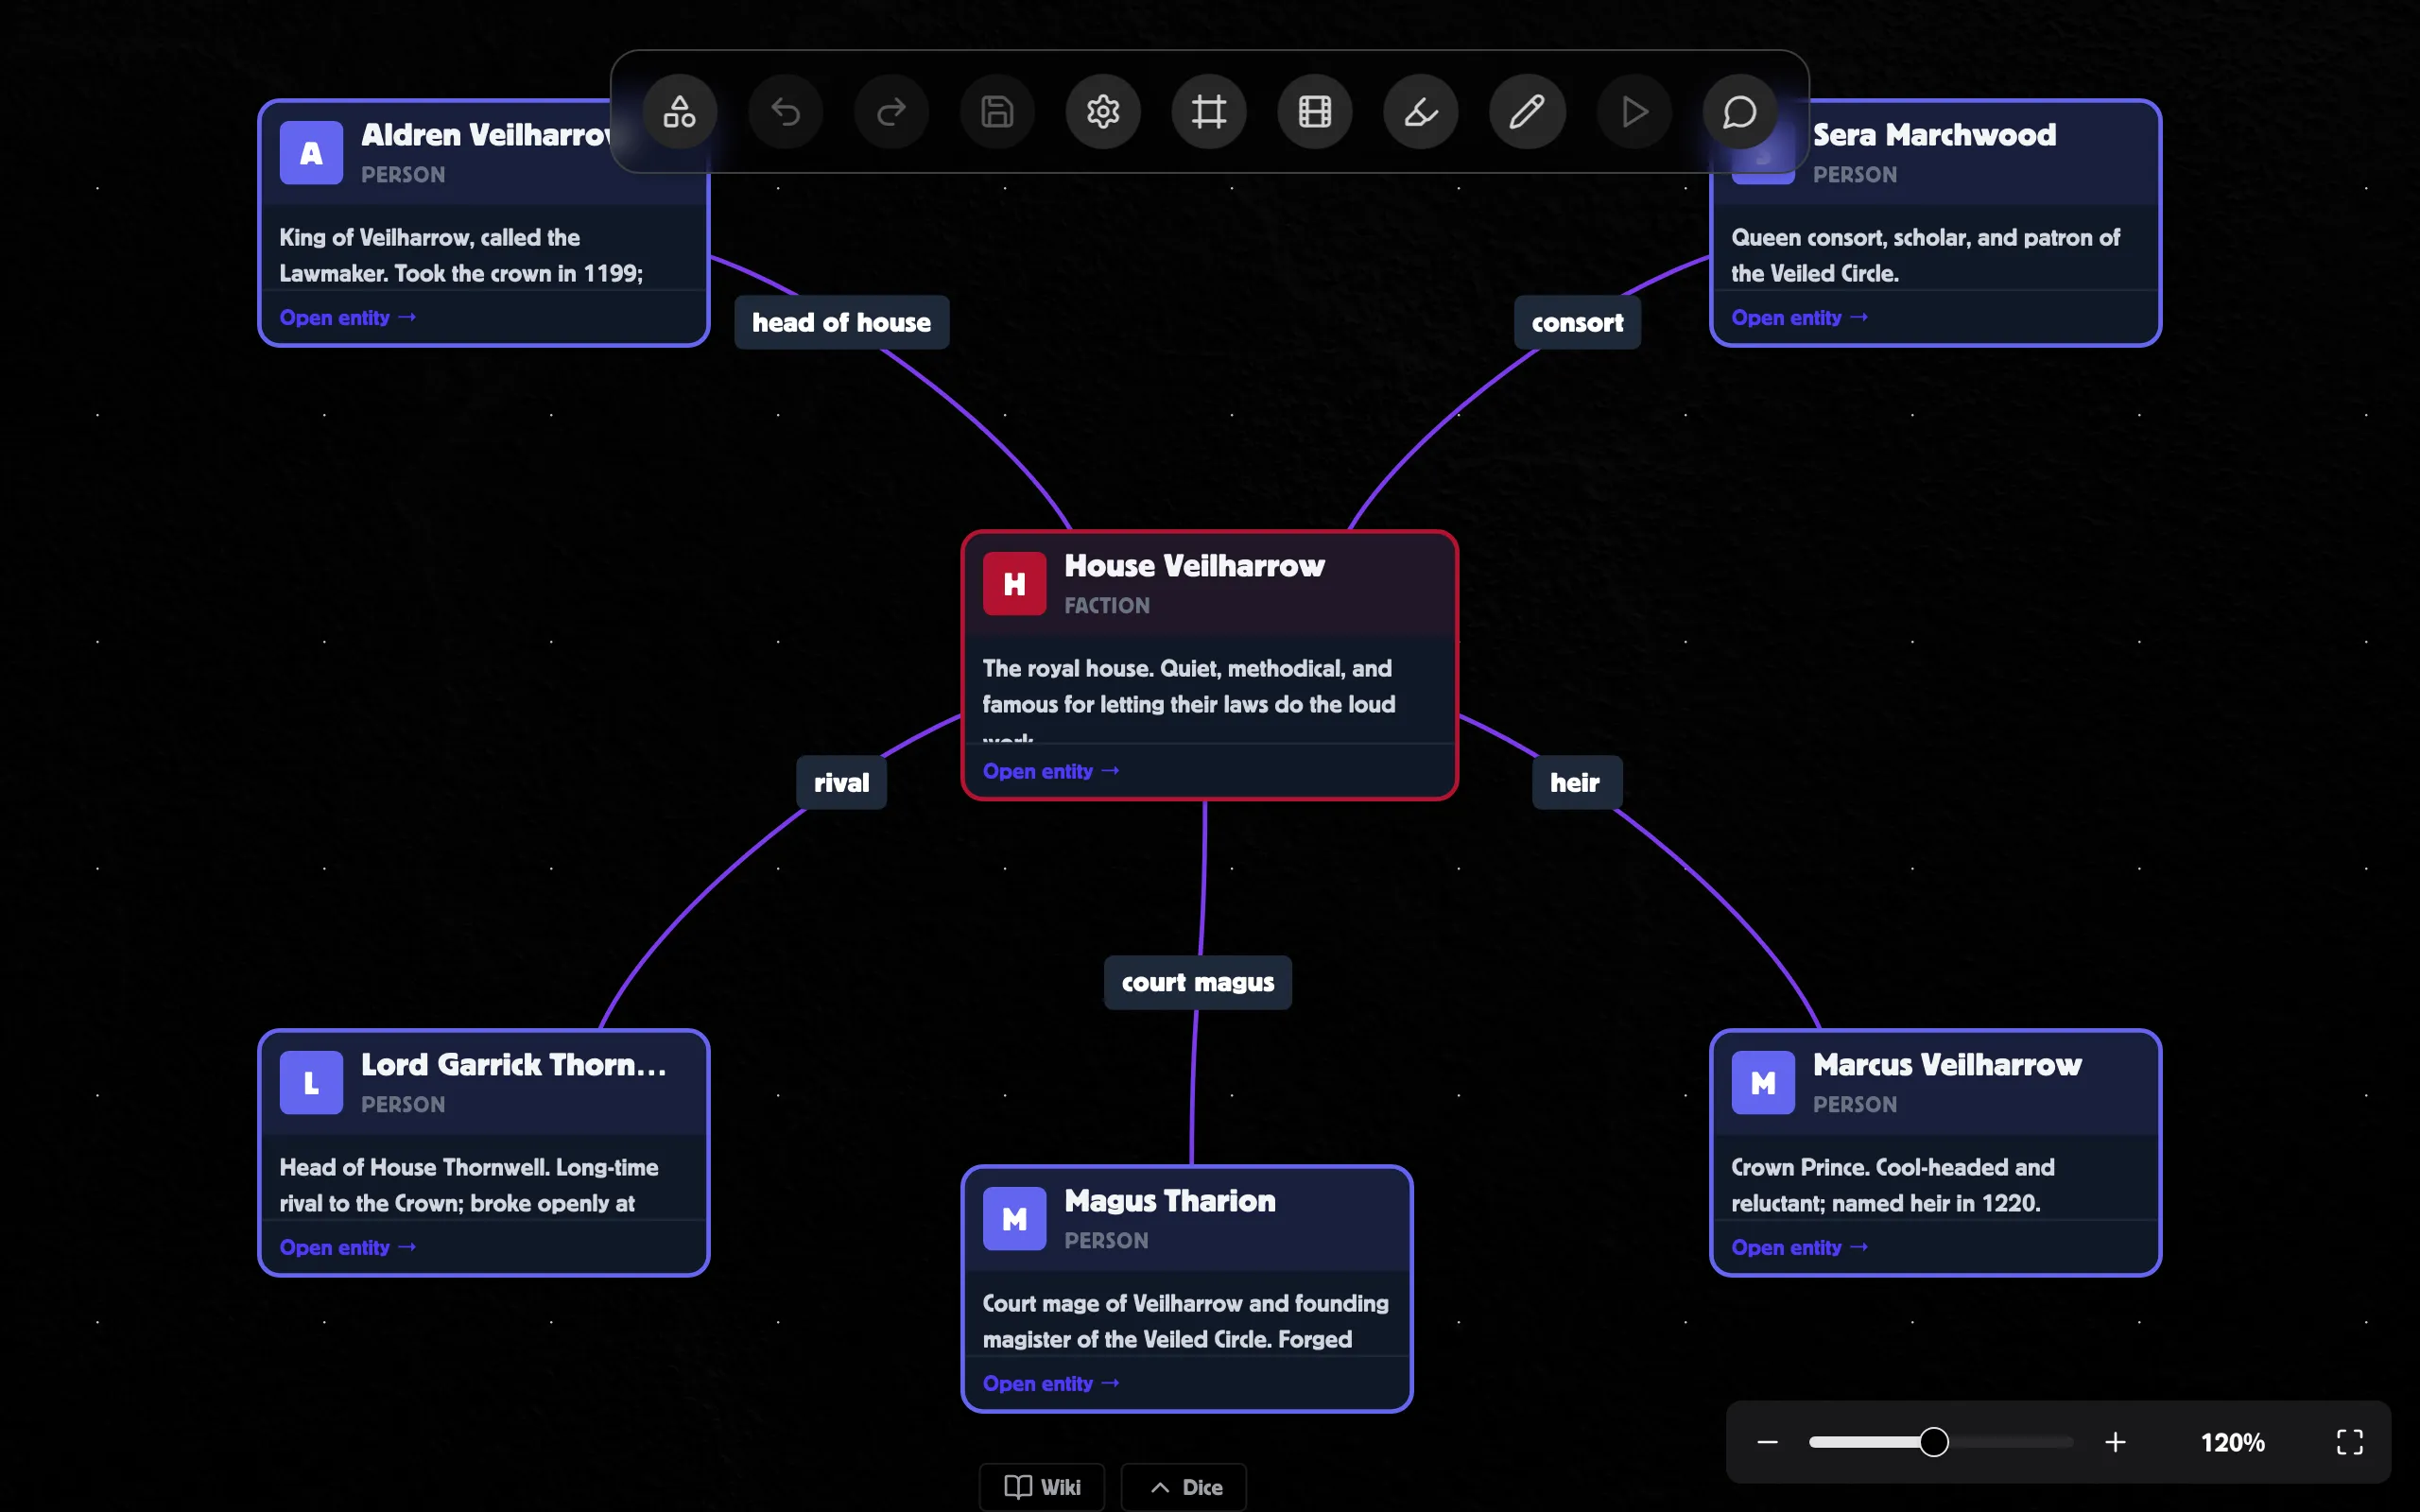
Boards are a pannable, zoomable canvas for organising the bits of your game that benefit from being laid out visually — notes, characters, plot threads, linked locations, conspiracies. Think of them as a digital corkboard with smart, typed nodes you can connect.
Post-its & text boxes
Coloured sticky notes for quick thoughts and longer rich-text passages.
Paper sheets
Rich-text sheets styled like real paper, with lined / dotted / squared rulings and a distinct title and body — see Paper nodes.
Cards & pins
Pin existing cards from your card library or bookmark any other resource.
People
Character cards with avatars for quick reference.
Frames & containers
Group nodes visually, navigate between regions, and present your board as a slideshow — see Frames.
Tables
Editable grids for tracking lists — see Tables.
Entity & event nodes
Link a node to a canonical world entity, or track quest/timeline events — see Entity and event nodes.
Drawings
Freehand sketches and shapes — see Drawing tools.
Images
Drop a picture from your asset library, a URL, or an upload — see Images.
Live collaboration
Edit a board together in real time — shared cursors, a “who’s live” roster, and per-node editing indicators. See Live collaboration.
Scene & wiki embeds
Drop a live, read-only mini-view of a scene, world map, or wiki graph onto the board — see Embed nodes.
Connect any two nodes with a labelled edge to show relationships. Drop a comment on any node or empty canvas point to start a discussion.
From the Boards page in the app:
Boards can also live on their own without a world; sharing is then managed per-board. You can pick a board type and edit these details later — see Creating and editing boards and Board types.
From the Boards list, expand a board’s card, click Details, and choose Share.
If the board belongs to a world, anyone you’ve shared the world with shows up as an inherited member on the board’s Access tab — they get access via the world rather than the board directly.
The right-rail Inspector shows details for whatever you’ve got selected:
Toggle the Inspector from the toolbar’s Settings button.