

Creating a scene
Scenes start in your library and end at the table. Here’s how to create one and get it session-ready.
Create the scene
Section titled “Create the scene”-
Go to Scenes and click + Create Scene.
-
Give it a Scene Name and an optional description.
-
Pick a Scene type — Battle Map for tactical play on a grid, World Map for overland travel, Atmosphere for a backdrop. Not sure which? Click the ⓘ beside Scene type to compare all three.
-
Add a Map image (optional) — bring your own map as an image. You can also add or swap the map later by editing the scene.
-
Click Create.
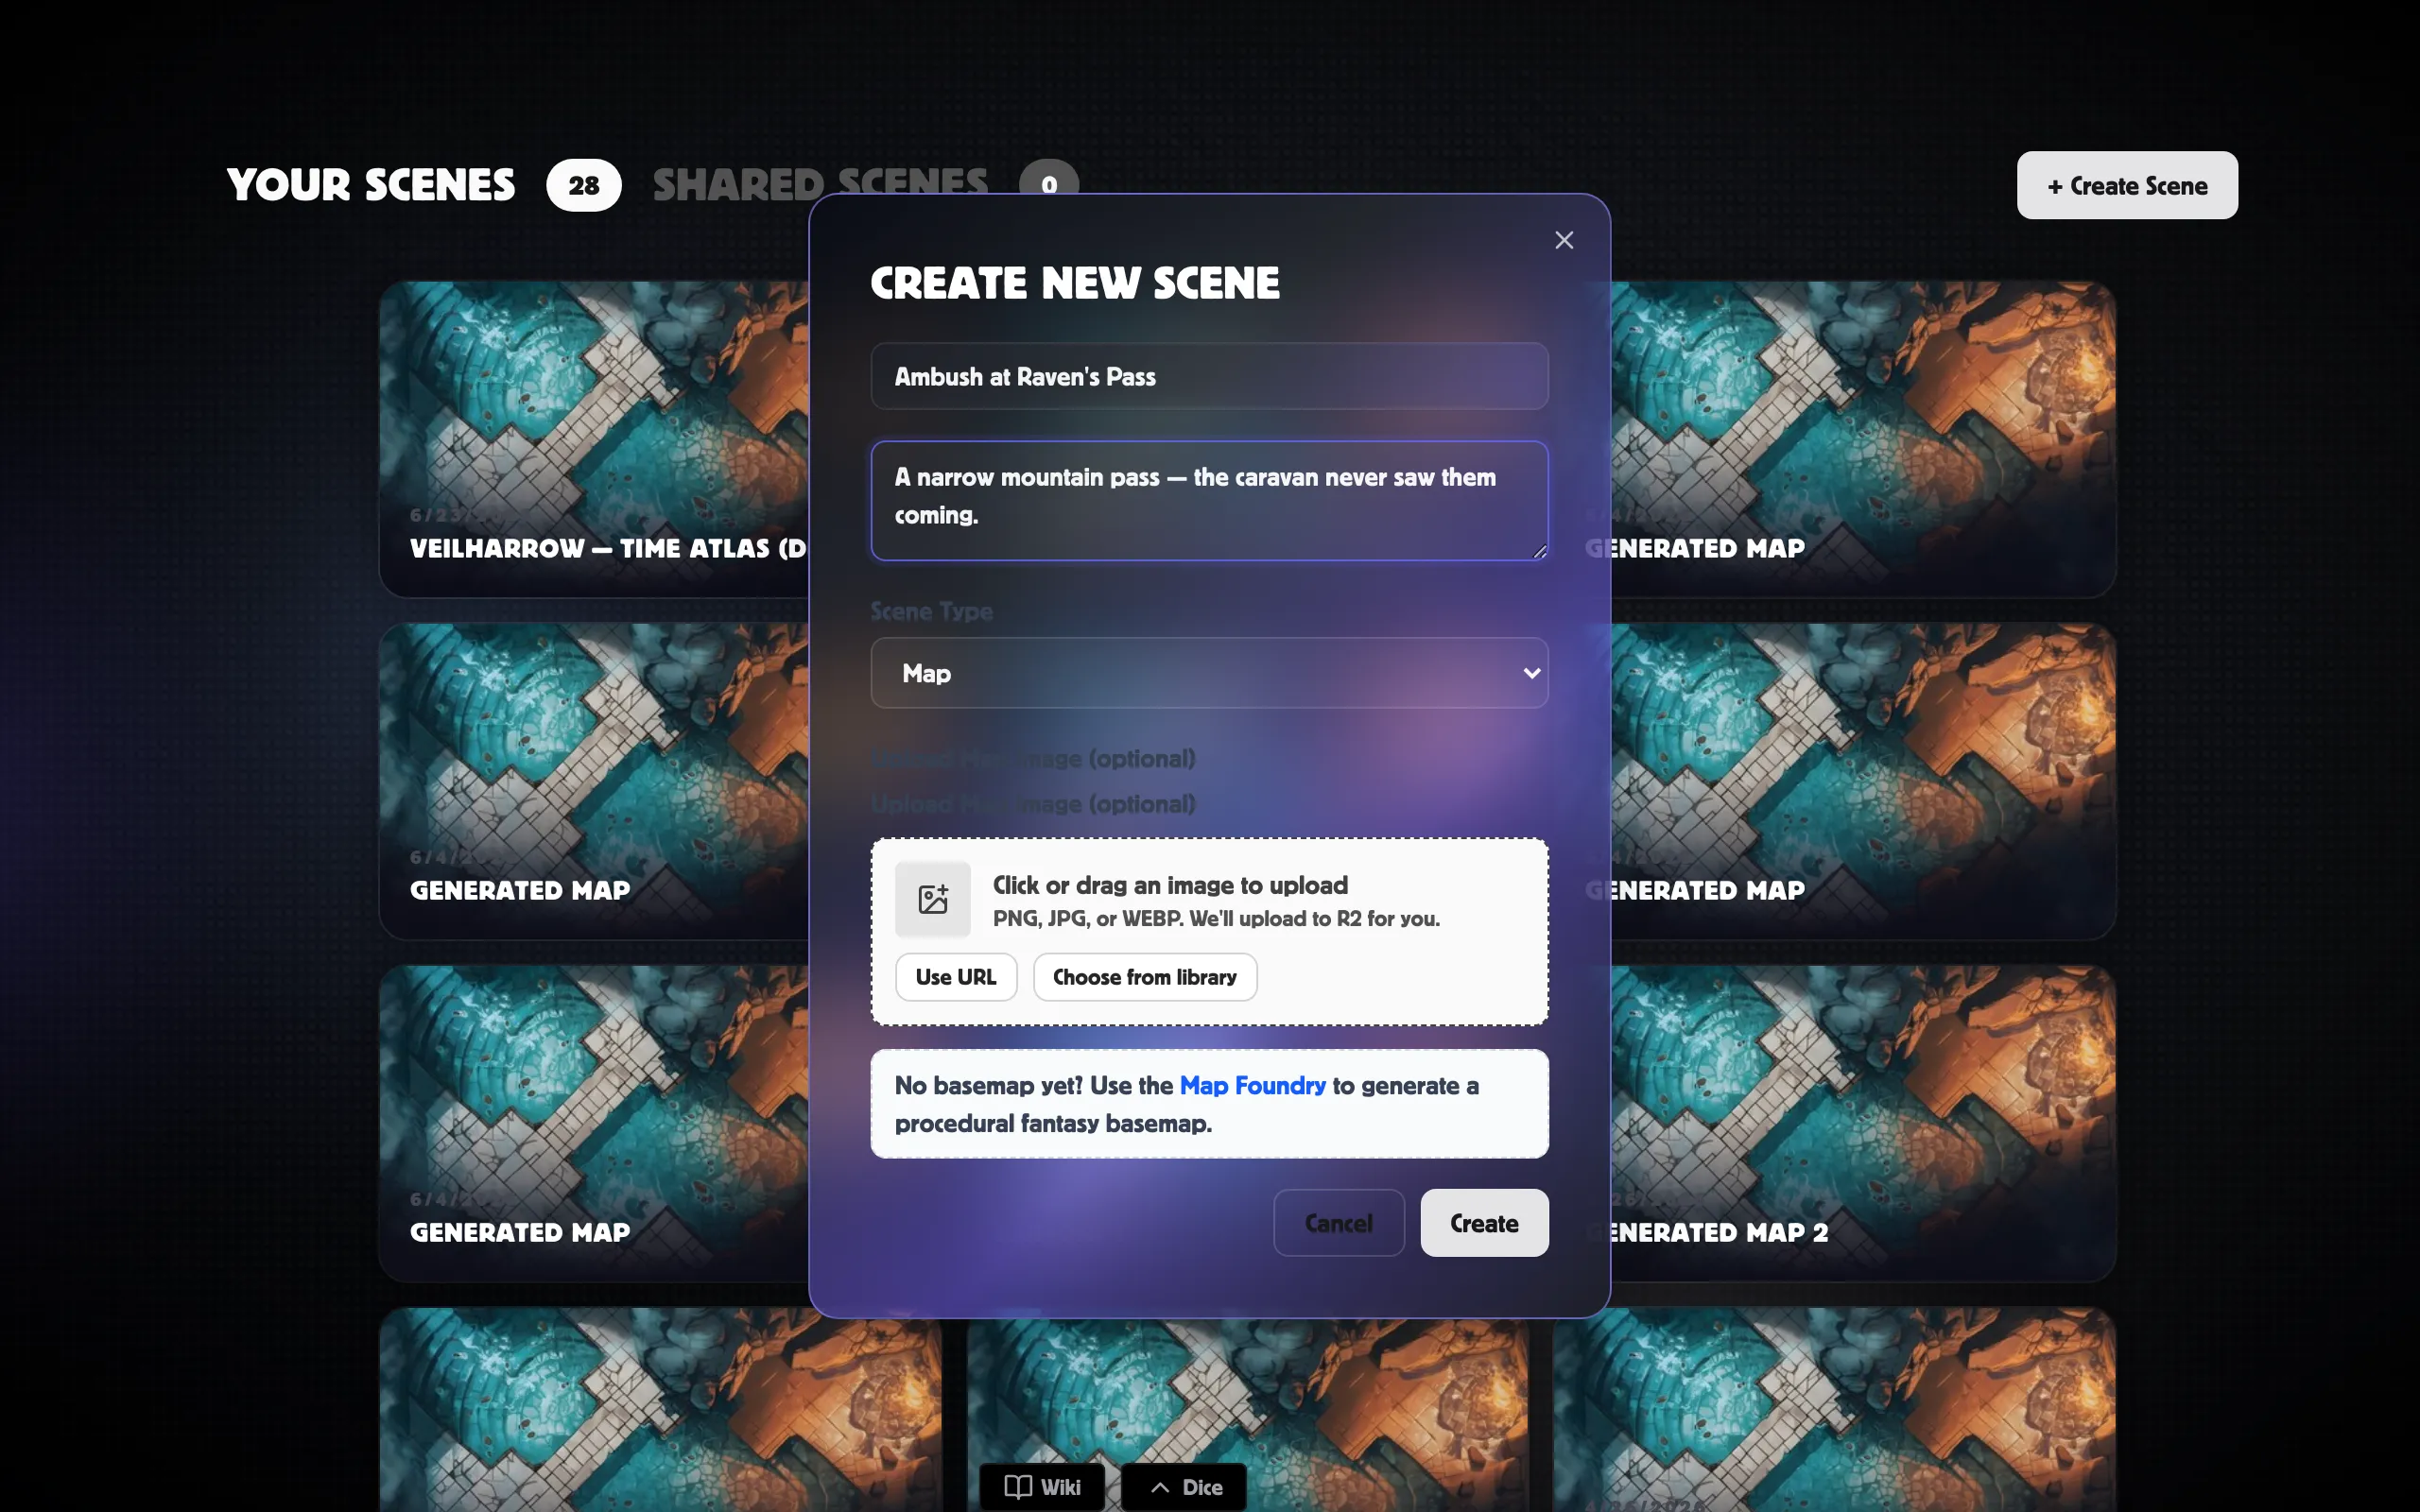
Making a World Map with no art for it yet? Pick that type and the dialog offers the Map Foundry, which generates a fantasy map for you — see Generate a map with the Map Foundry.
Already have a map with walls and lights built in — from Dungeondraft, Dungeon Fog, or Foundry? Use Import Scene instead and skip the setup — see Import a scene from a map file.
Set up the grid
Section titled “Set up the grid”Open the scene from your library, then click Grid Options in the toolbar:
- Grid Type — Square or Hex.
- Size, offset, and colour — match the grid to the squares printed on your map, and style the lines (solid, dashed, or dotted) with their own opacity. You can also hide the grid entirely.
- Snap to grid — keeps tokens landing neatly in squares.
- Auto Grid — the fastest way to line things up: click a few points on the map and the grid size and offset are worked out for you.
Prepare the scene before the session
Section titled “Prepare the scene before the session”Opening a scene from the library gives you the same tools you’ll use at the table — so do the slow work now, in private:
- Walls — trace the map’s walls and doors so they block sight and light.
- Lighting — place torches, set the scene’s mood and time of day. See Lighting.
- Fog of war — decide what starts hidden. See Fog of war.
- Tokens — pre-place monsters and NPCs with Add Token.
Click Save Scene when you’re done. Next time you open it — or switch your room to it mid-session — everything is exactly where you left it.
Related
Section titled “Related”- Scenes & battle maps — the scene lifecycle at a glance.
- Import a scene from a map file — bring in a UVTT or Foundry map with walls and lights.
- Generate a map with the Map Foundry — procedural maps.
- Lighting and Fog of war — deep dives.
- Uploading and organizing assets — managing your map images.