

Build top-down or bottom-up
The perimeter + buttons let you grow in either direction. Add a person, then their parents (top +) to extend ancestry, or their children (bottom +) to extend descendancy.
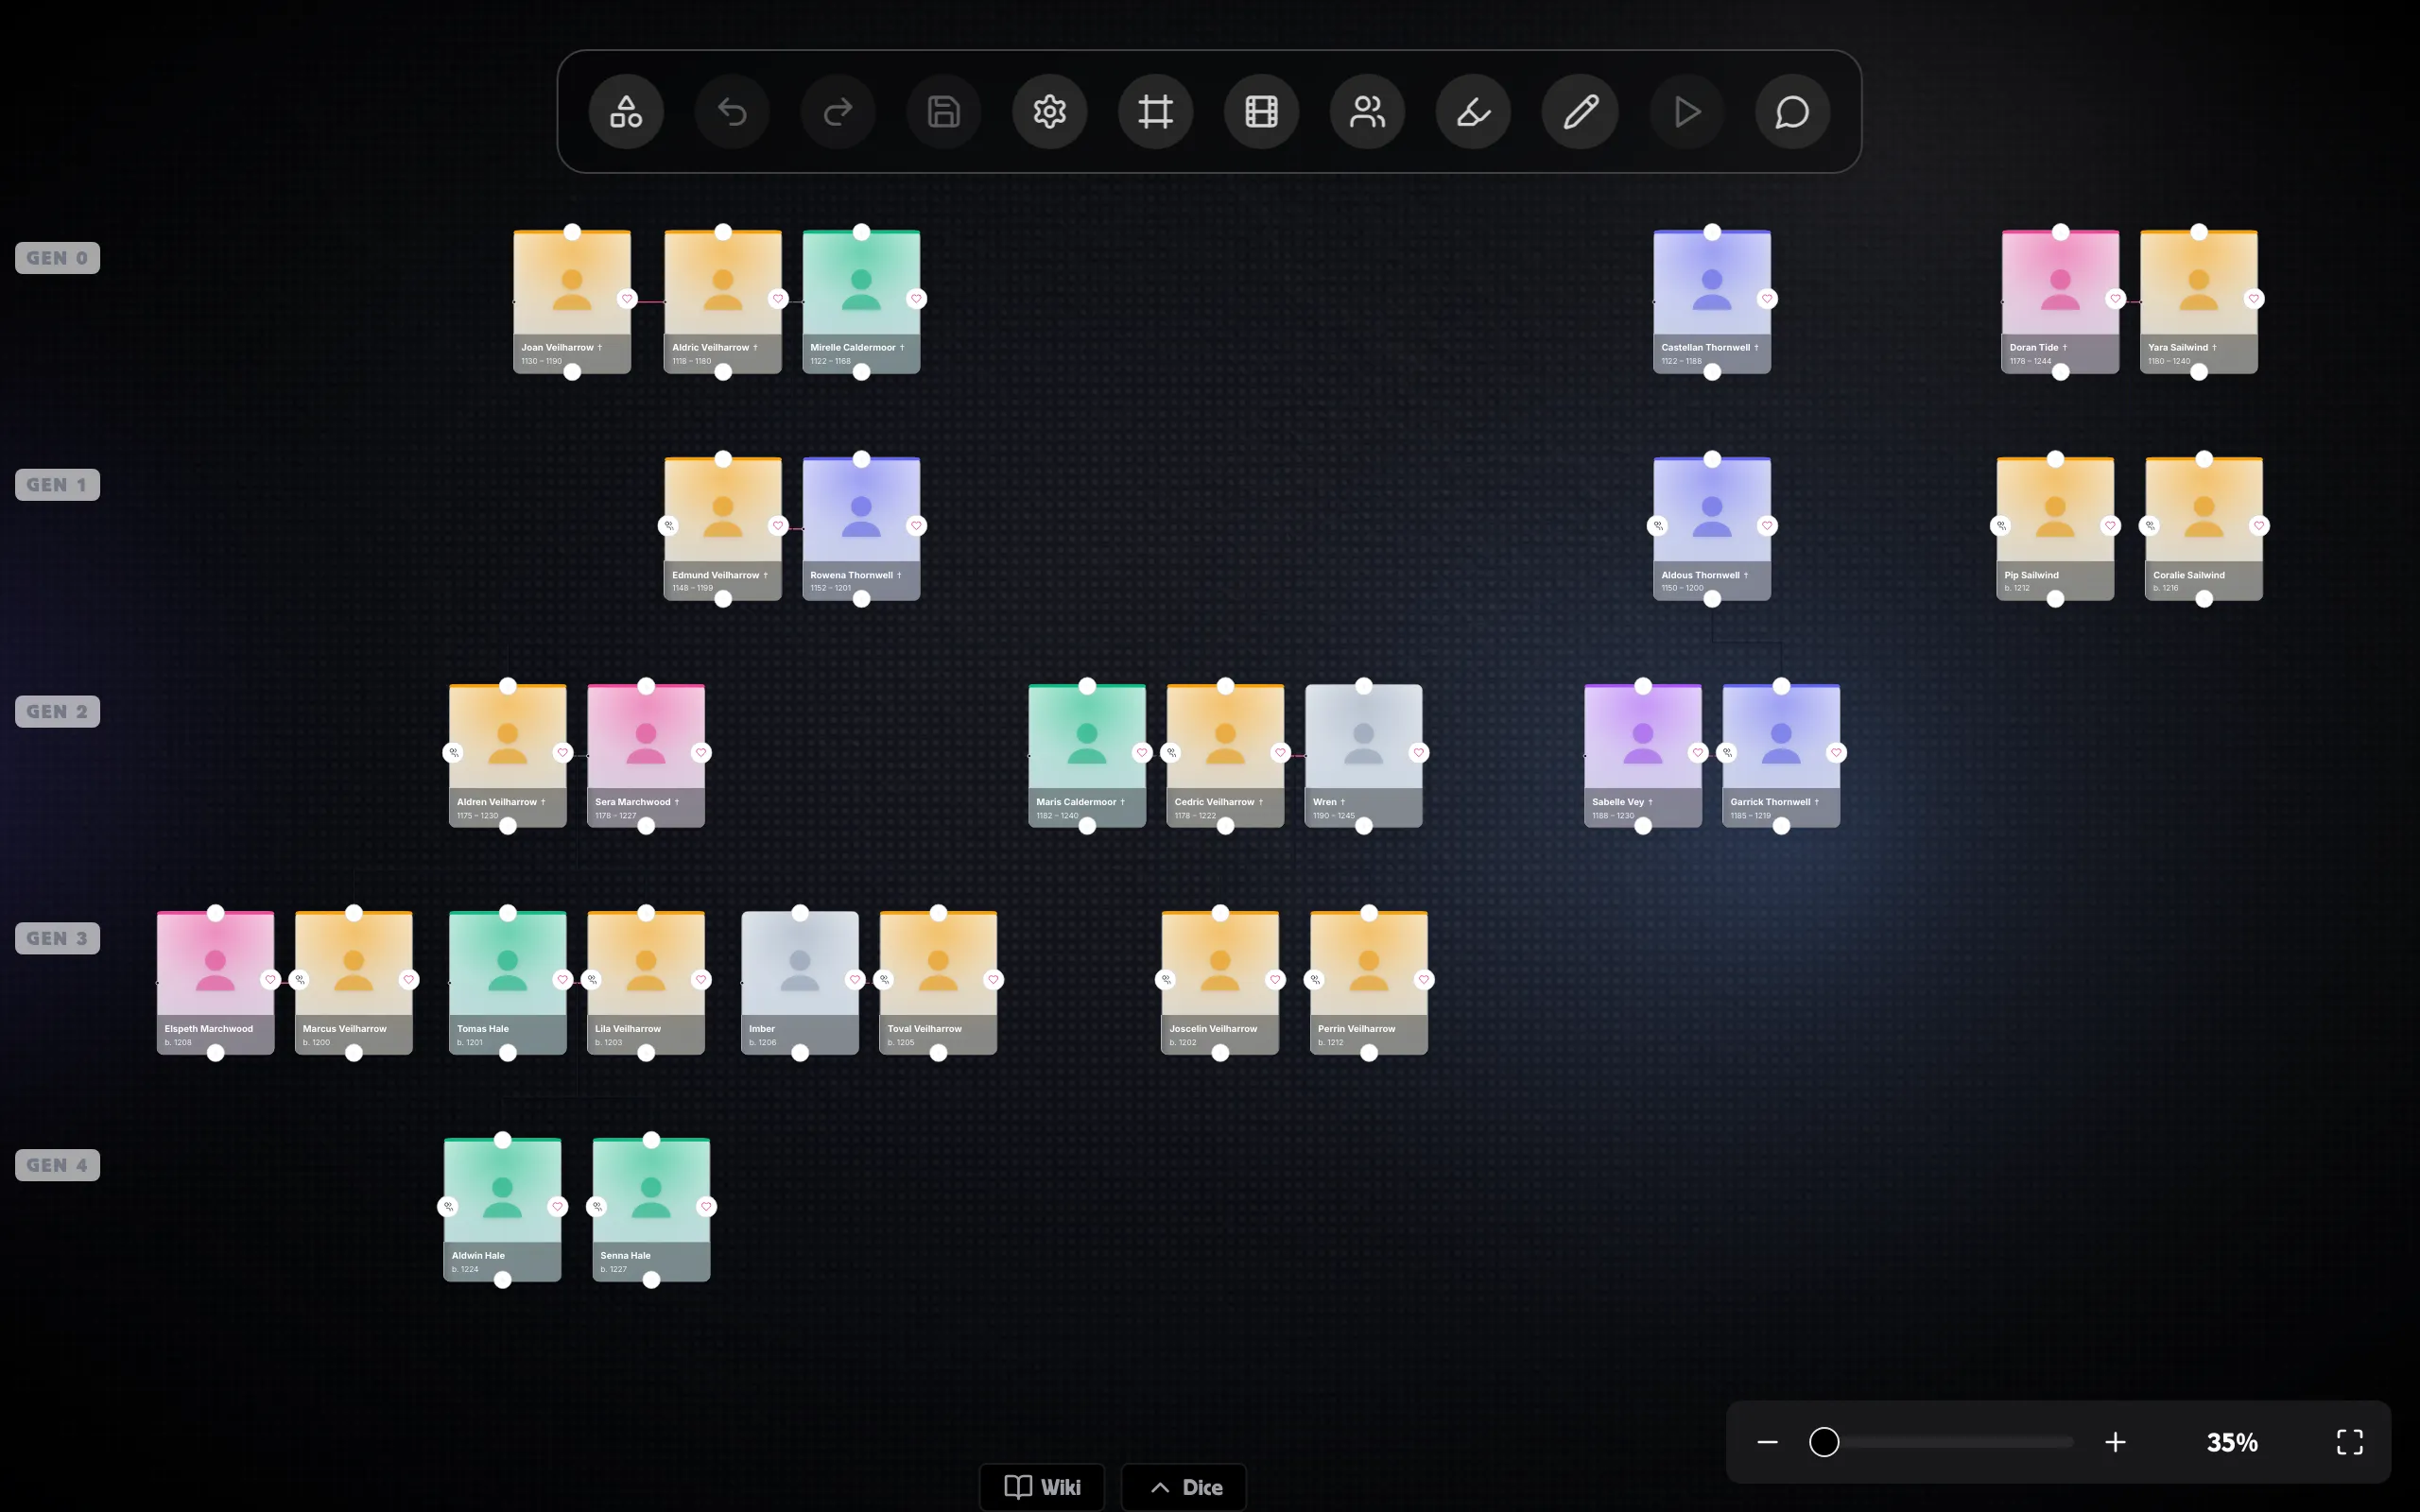
Family-tree boards are a dedicated board type for laying out lineages in your TTRPG world — noble houses, NPC bloodlines, ancestral charts. Unlike a generic board, the layout, toolbar, and inspector are tuned for genealogy: couples stay adjacent, children sit under their parents, and a single click swaps the view to focus on one person’s ancestors, descendants, or both.
A fresh family-tree board opens with a centred Build a family tree prompt and a single button to add the first person.
Every entry on a family-tree board is a Person card. Each card has:
When you select a person, four perimeter buttons appear so you can grow the tree without leaving the canvas:
| Button | Position | Adds |
|---|---|---|
| + | Top | Parent |
| ♥ | Right | Spouse |
| + | Bottom | Child |
| 👥 | Left | Sibling (only shown when the person already has a parent) |
The FamilyToolbar (a floating pill above the selected card) gives you the same actions as buttons, plus Mark deceased, Co-parent partner’s children, Focus on this person, Collapse subtree, and Delete.
There are several ways to connect people; pick whichever feels natural:
Select a person, click any of the four + / ♥ / 👥 buttons. A
new person card is created in the right place and an auto-layout pass
re-tidies the tree.
Select a person → the toolbar appears at the top of the card. Click Add Parent / Spouse / Child / Sibling.
Open the Library (the rail down the left, or a drawer on a phone). On a family-tree board, the Person tile sits at the top of the components list. Drag it onto the canvas to add an unrelated person, or tap on mobile to drop one at the canvas centre.
Click any person card and the right-rail Inspector opens to its details. Five sections:
Given name, family name, maiden name, pronouns, display name, gender
(picker + free-text), and a portrait uploader. The display name
overrides the auto-built Given Family if you want a specific
in-character spelling.
Born and Died accept partial / approximate dates (“c. 1850”, “Jan 1850”, “1850-03-12”) so dates that aren’t exactly known can still be recorded. The Deceased toggle defaults to inferred from death date and you can override either way (deceased without a known date, or living despite a death date).
Occupation and free-form notes.
A Lineage group override and a Lineage colour override — see Lineage colour below.
Per-card font family — board-local, doesn’t affect the canonical record.
Partner edges are pink lines that connect the inner edges of two partner cards. When both partners are also parents of the same child, the edge sprouts a L-step connector down to the child — neutral black, routed through the gap between rows so it stays visible.
Click a partner edge to open its inspector. Status options:
The line styling reflects the status: solid pink for current, dotted/dashed pink for paused / past, dashed grey for divorced, solid grey for widowed.
If you create person A, add A’s children, then add A’s spouse D, the children stay biologically modelled as A’s only — they sit under A because that’s the actual data. To upgrade them to co-parented:
Partner edges always render between the inner edges of the two partner cards based on current positions — so dragging a partner from the right side of A to the left side never crisscrosses the line. The heart button stays on the visible midpoint.
Click any parent_child edge → the inspector shows a Kind picker:
Non-biological kinds render the line with a distinct dash pattern and
add a single-letter badge near the elbow (A / S / F / Su).
Adopted children are positioned exactly the same as biological
children — kind is purely a rendering / record-keeping distinction.
Each person card gets a lineage colour — a coloured stripe across the top that groups people who share a surname (or an explicit lineage group). The same colour also tints the row dot in the People panel and the dot in the mini-map.
How the colour is picked:
Use Lineage group when several family names share a house (a spouse-in’s lineage) or to split one big surname into branches. Use the Lineage colour override when a specific lineage demands a specific colour (House Lannister always red).
Toggle Colour by lineage off in the People panel header if the palette is too noisy on a busy board — every card / dot reverts to neutral grey.
Open the People panel from the right of the toolbar (Users icon — only visible on family-tree boards).
The panel lists every person on the board with:
Click a row to pan + zoom the canvas to that person and select it (the inspector opens to identity).
Hover a row to reveal a crosshair — click it to enter focus mode on that person.
Focus mode highlights one person (“ego”) and dims everyone unrelated. Use it to find your way around a busy tree.
To enter:
Visual treatment:
Press F again on the same person, or with no person selected, to clear focus.
When focus mode is on, the View dropdown in the People panel header becomes useful. It restricts what’s drawn on the canvas:
Frames, drawings, and annotations stay visible regardless — only person cards get filtered.
Long branches can clutter the canvas. To collapse:
The bottom Add Child + button is hidden while the subtree is collapsed — adding a child you can’t see would be confusing.
Family-tree boards run a purpose-built tidy-tree layout every time you add a relationship. You normally don’t need to trigger it manually. The rules it follows:
If the layout drifts after manual edits, click Auto-layout in the toolbar to re-tidy.
A faint Gen 0 / Gen 1 / Gen 2 … label sits along the canvas left edge, anchored to each generation’s row. The labels move and scale with the canvas as you pan and zoom.
A few protective checks run when you save:
Build top-down or bottom-up
The perimeter + buttons let you grow in either direction. Add a person, then their parents (top +) to extend ancestry, or their children (bottom +) to extend descendancy.
Drag for unfamiliar shapes
Use the connection-drag relationship picker when the perimeter buttons don’t fit your layout — e.g. linking two existing people who aren’t currently adjacent.
Co-parent with one click
After adding a spouse to someone with existing children, look for the Co-parent N children of [partner] button on the toolbar. One click adopts them all into the partnership.
Focus + Hourglass = the readable tree
On large trees, hit F on a person and switch view to Hourglass. You’ll see only the line of ancestry and descent around them, with everyone unrelated hidden.
Pin lineage colours that matter
Override the lineage colour for the houses your campaign cares about most (House Lannister red, House Stark grey). Auto-derived colours fill in the rest.
Collapse to keep things scannable
Collapse minor branches you’ve already detailed. The descendants are still searchable in the People panel and one click on the badge brings them back.