

Highlights on boards
Highlights on boards work like a fluorescent marker pen. Drag the highlighter across text inside a node and the words get a yellow background. Sweep it across empty canvas and you get a translucent fluorescent stroke. Either way, every text highlight on the board shows up in the Highlights panel, and clicking one zooms straight to the node.
Two ways to highlight text
Section titled “Two ways to highlight text”You can highlight text in Paper, Post-it, and Text box nodes either by dragging the marker or by selecting and clicking.
Drag the marker (fastest)
Section titled “Drag the marker (fastest)”- Pick the Highlighter from the drawing toolbar (the angled marker on the artist’s shelf — desktop — or the highlighter icon in the mobile drawing row).
- Choose a color. Six fluorescent shades to pick from: yellow, pink, green, orange, blue, purple.
- Drag across the words you want to highlight inside any text node. The marked range gets a coloured background as soon as you release.
If you start the drag on empty canvas instead of inside a text node, the highlighter falls back to drawing a fluorescent stroke on top of the board (see Drawing on boards).
Select then click (precise)
Section titled “Select then click (precise)”- Click into a Paper, Post-it, or Text box to start editing.
- Select the words you want to highlight by dragging or shift-arrow.
- The floating toolbar appears above the node. Click the highlighter icon, then pick a color.
This is the easier path when you want a very precise selection (one word, an exact phrase) — keyboard selection is more controllable than a mouse drag.
Removing or recolouring a highlight
Section titled “Removing or recolouring a highlight”Highlights are persistent — they stick to the words even when you move the node, edit other text around them, or share the board.
The quickest way is from the Highlights panel: hover any entry (or tab to it) and two buttons appear on the right —
- The colour button swaps the highlight to any of the six shades.
- The trash button removes it entirely, leaving the words plain.
Both changes apply straight to the board and can be reversed with Undo (Cmd/Ctrl+Z).
You can also do it right in the text: select the highlighted words, open the floating toolbar’s highlighter dropdown, and either pick a new colour or click Remove highlight.
The Highlights panel
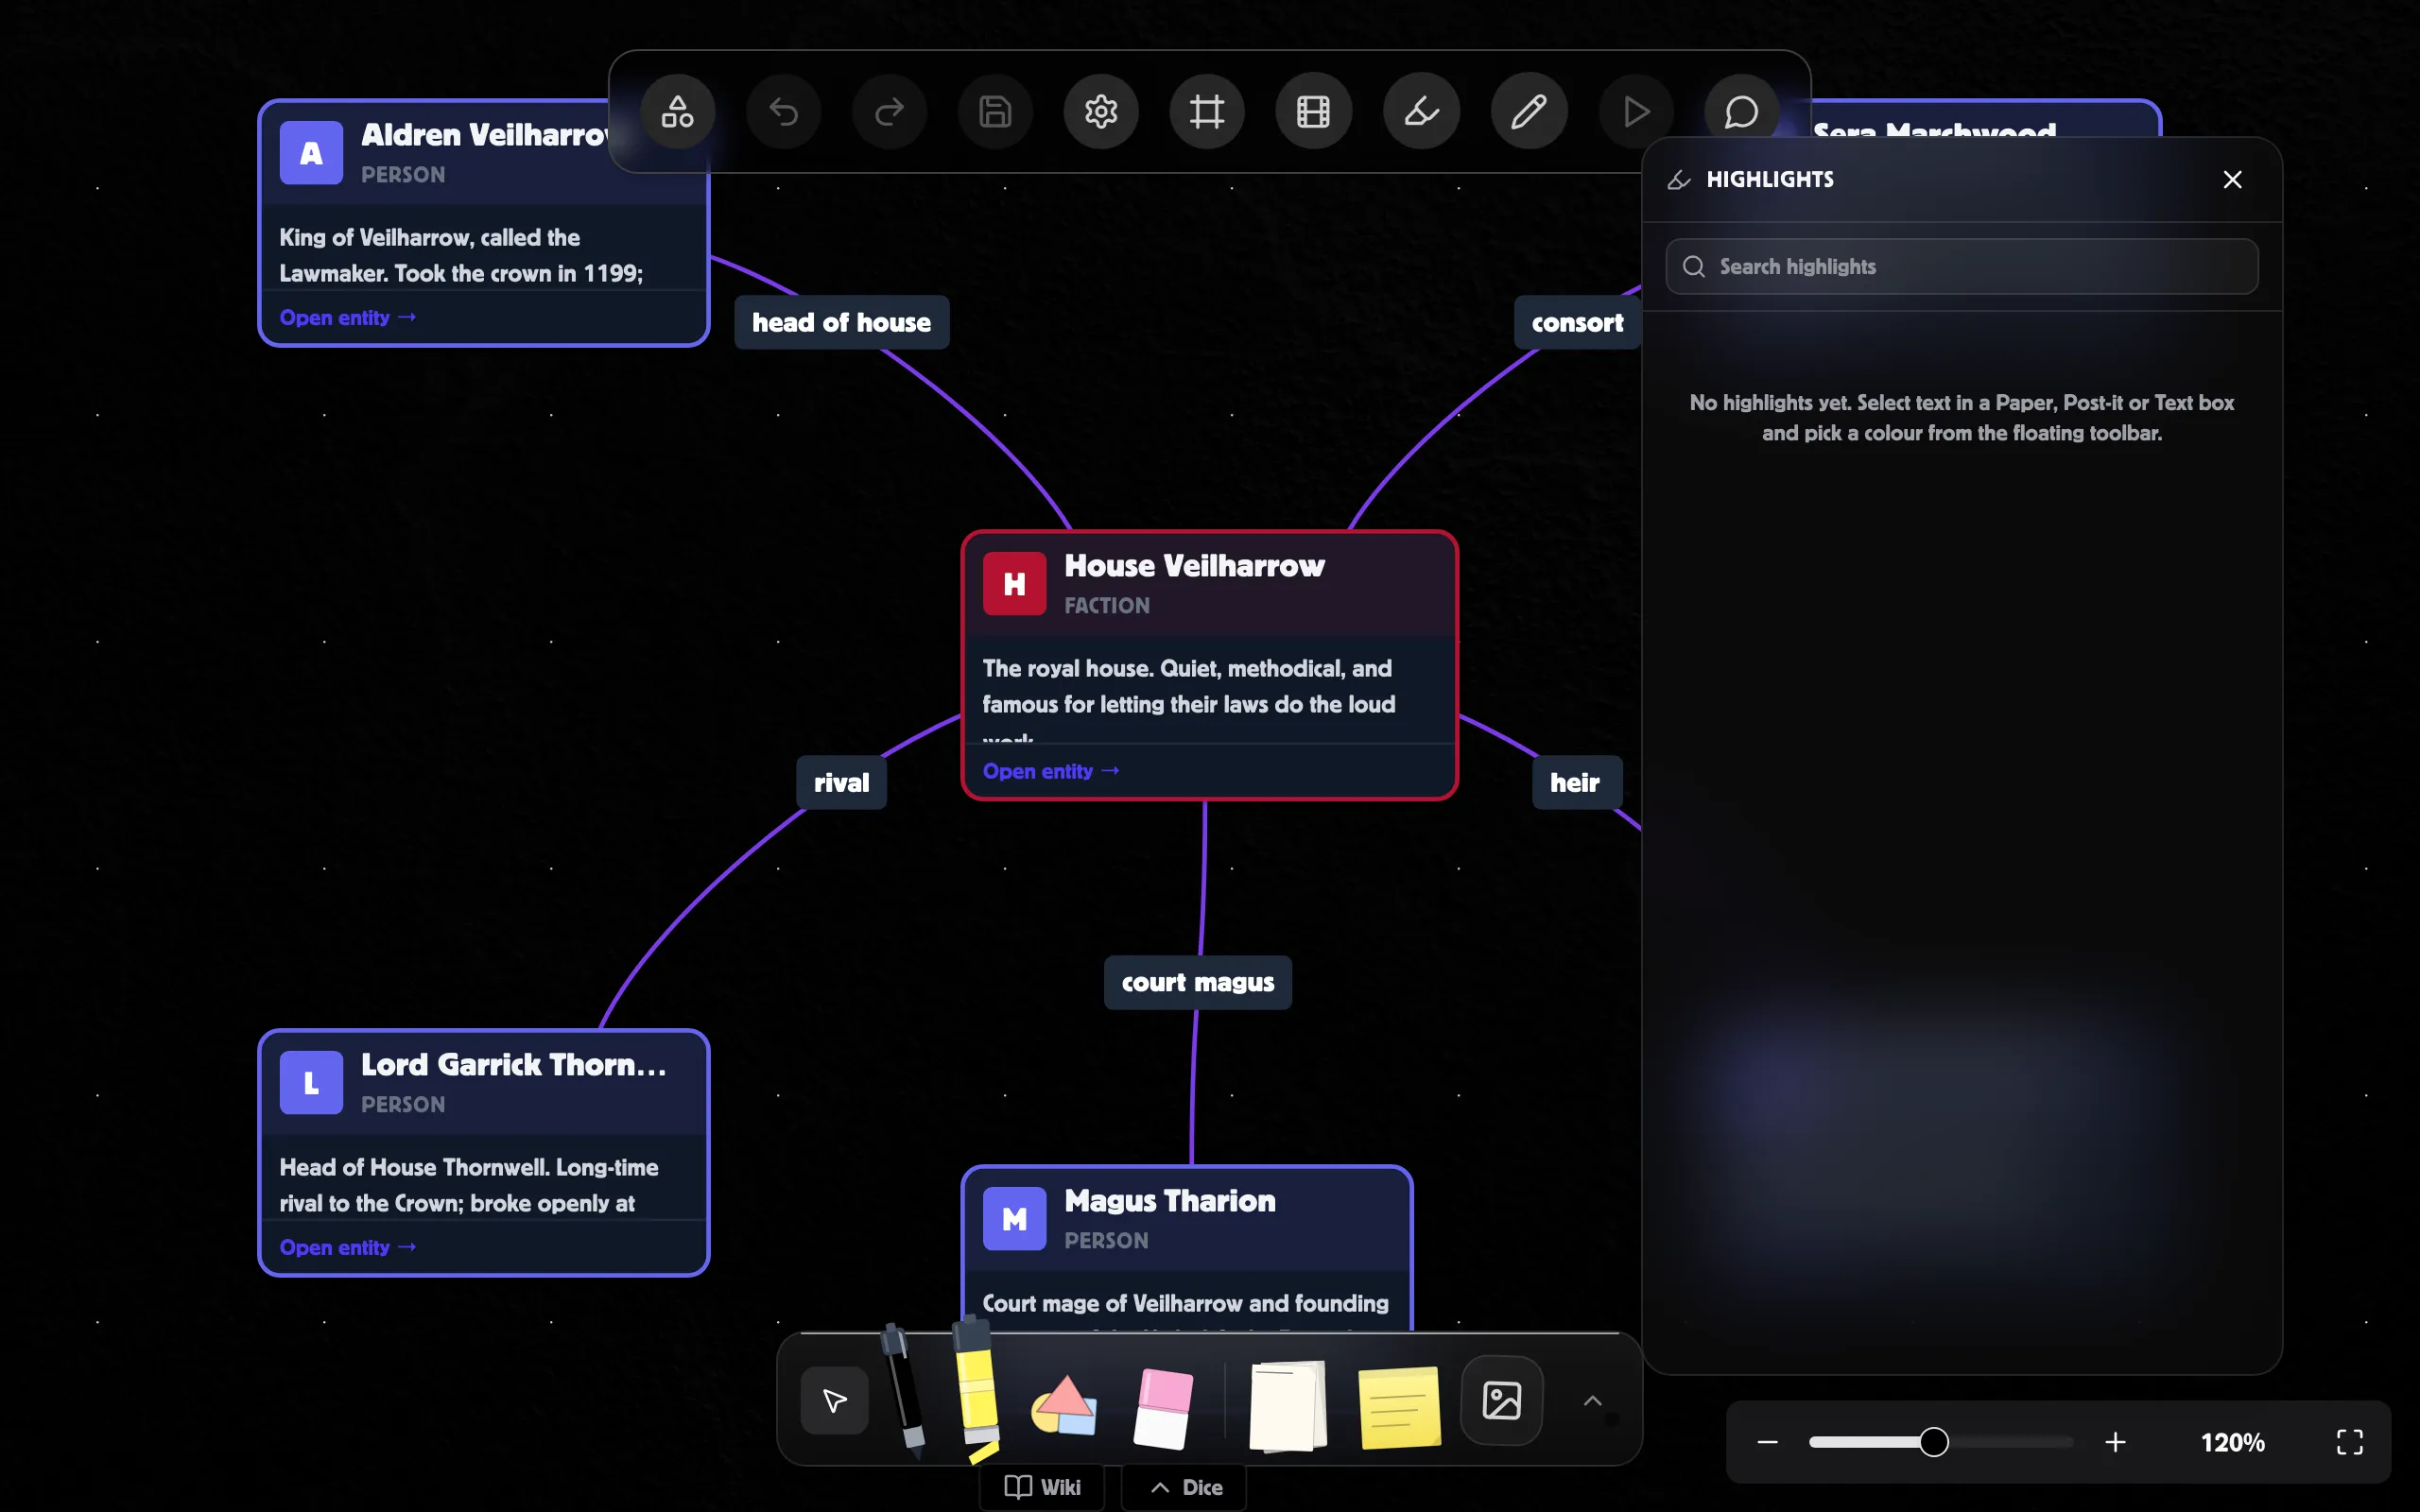
Section titled “The Highlights panel”The toolbar’s highlighter icon (next to Frames Panel) opens a right-rail panel listing every text highlight on the board. The panel shows:
- A color swatch so you can group at a glance.
- The highlighted text with a few words of context on either side.
- The source node (e.g. “Paper · Body”) and how long ago it was added.
You can:
- Search by typing — filters by the highlight text or its surrounding context.
- Filter by color using the chips below the search box (only shown when the board has more than one color in use).
- Click any entry — the board pans and zooms to the source node, scrolls the marked text into view, and briefly flashes an outline around the highlight so it’s easy to spot.
- Recolour or delete any entry — hover it and use the colour and trash buttons that appear on the right.
Fluorescent strokes on canvas
Section titled “Fluorescent strokes on canvas”The same highlighter tool that marks text also doubles as a marker pen for the canvas itself. Drag the highlighter across empty space (or across a node you don’t want to mark text in) and you get a translucent fluorescent stroke that overlaps cleanly when you sweep back over it — multiple passes darken the colour the way wet ink does on paper.
Strokes are saved as drawing nodes, so you can:
- Move them with drag-select.
- Erase them with the eraser tool — same as any other drawing.
- Undo them with Cmd/Ctrl+Z.
Where highlights are not supported
Section titled “Where highlights are not supported”A few node types don’t support text highlighting yet:
- Cards — card content renders separately from Tiptap.
- Tables — table cells use plain text inputs, not rich text.
- Wiki graph and scene embeds — these are rendered views, not editable documents.
You can still drop a fluorescent stroke over any of these with the highlighter, just like any other drawing.